
How to measure a shirt at home in 8 steps (with images)
In this post we will learn how to measure a shirt at home by yourself.
There are total 8 steps to measure a shirt.
1. Find a perfect fitting shirt
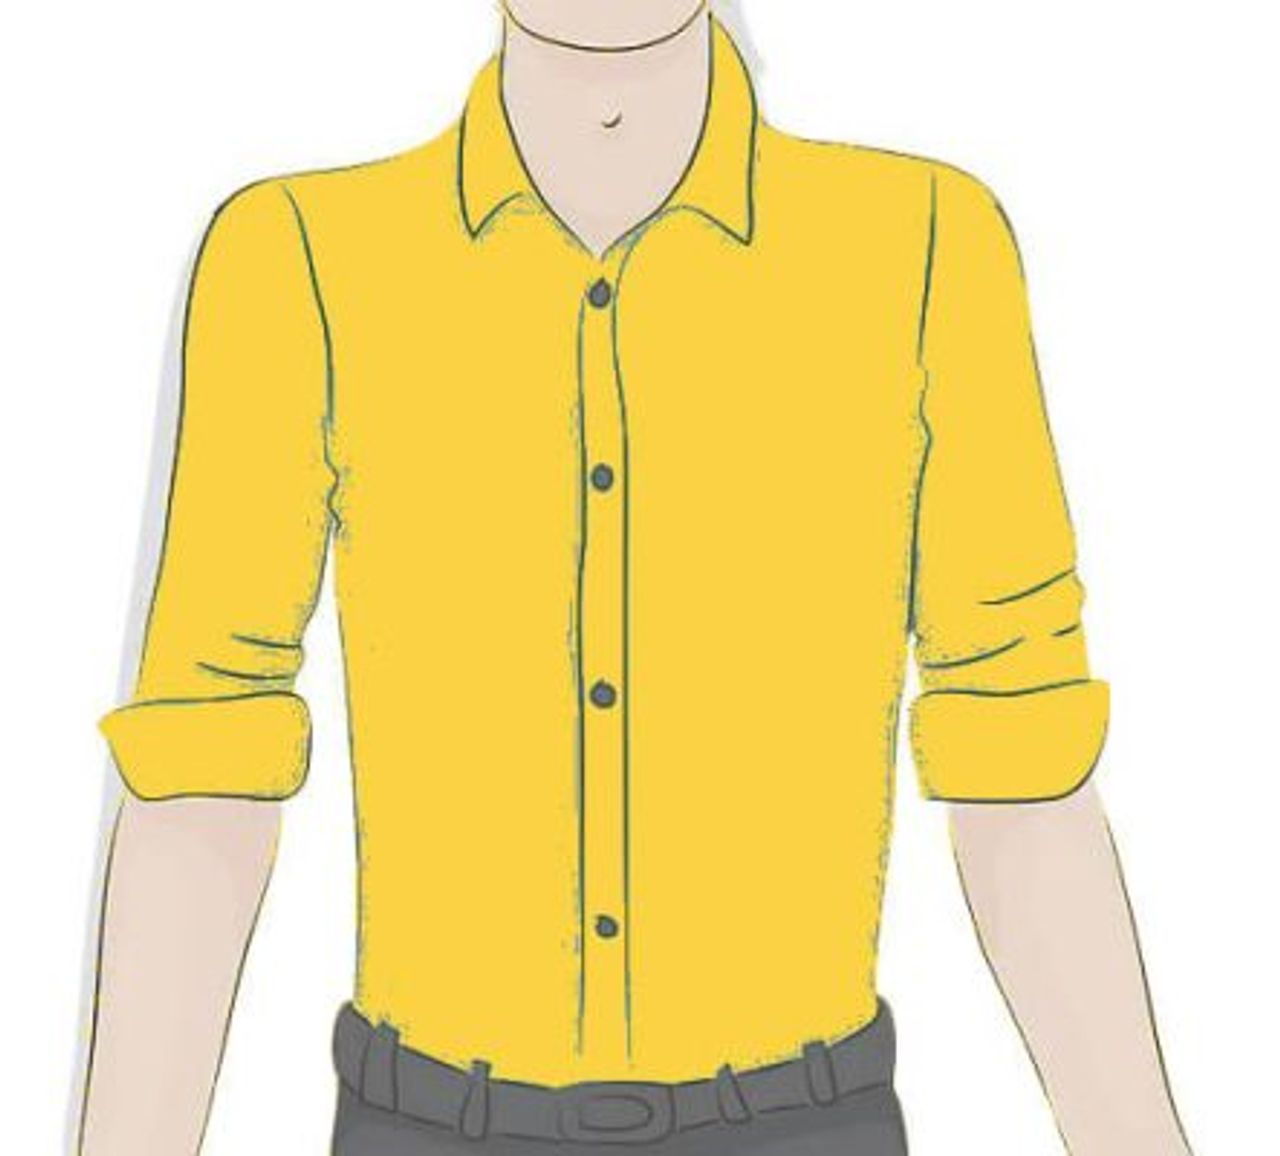
First step is you have to take out your perfect fitting shirt which you like the most and you want your new shirt to be of same size. Then close all the buttons of the shirt for measurement.
2. Take the length measurement from collar to hem

Second step is to take the measurement of the shirts. For that you have to keep the measurement tape at the top edge of the shirts right where it connect with the collar from front and take the tape all the way down to the hem of the shirts. While measuring keep the tape straight to avoid measurement mistake.
Once you take the measurement note it down.
3. Measurement for the chest
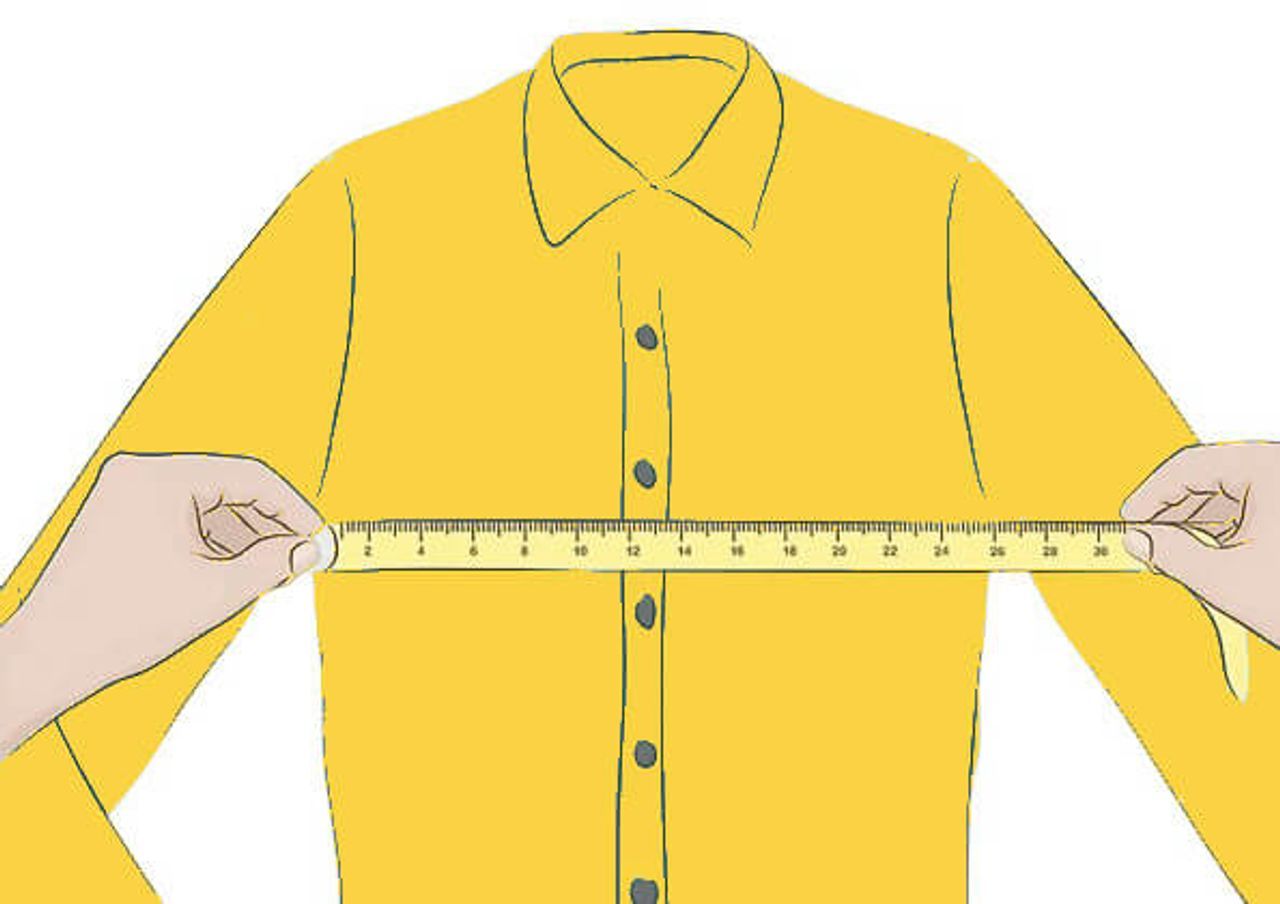
Third step is to take the measurement of your shirt keep the measure tape below the armpit to the edge where there is stitch at the side and take it to another end under the armpit and note down the measurement.
Please make sure to put on button while taking the measurement of the shirts.
4. Waist measurement
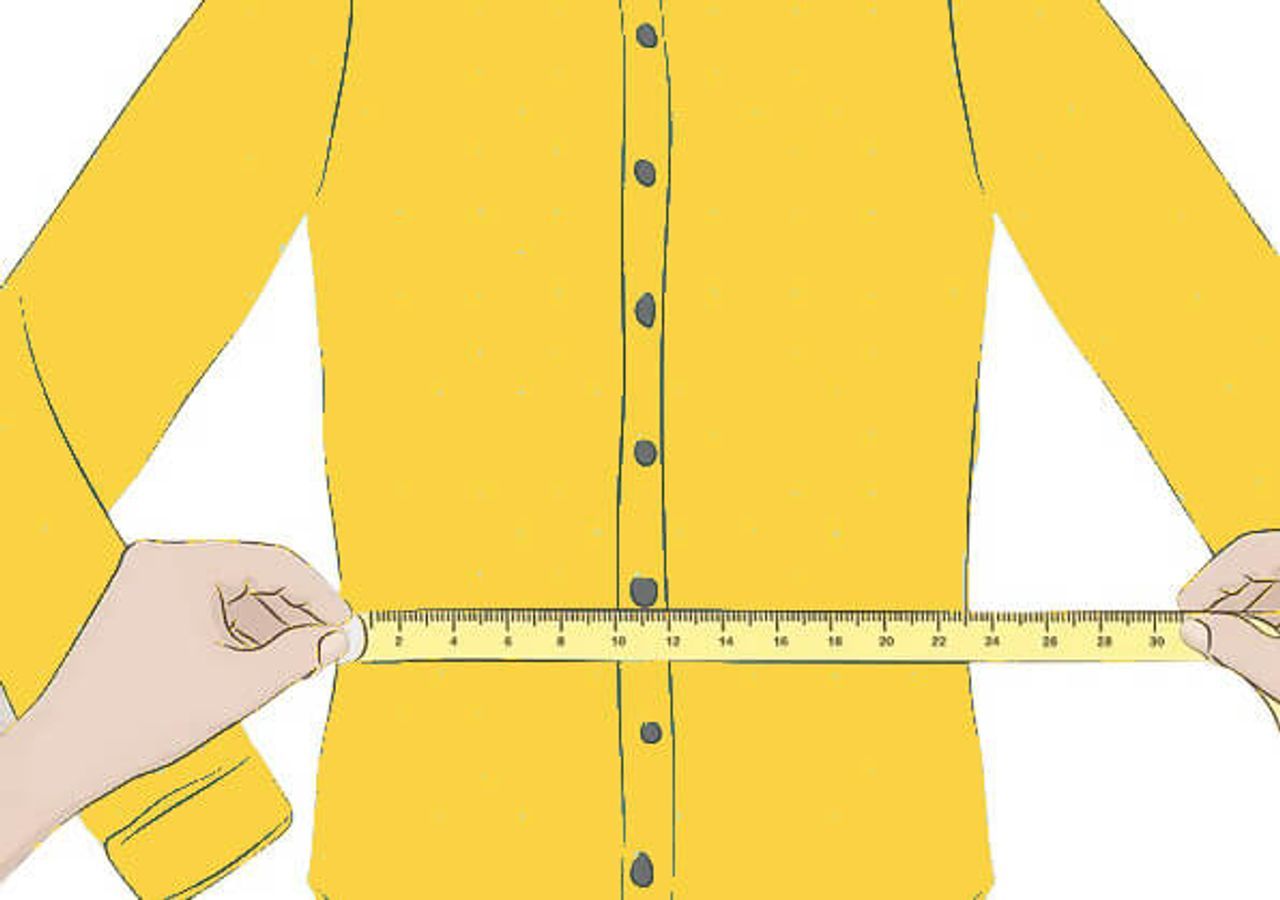
Fourth step is very similar as chest measurement. To measure a waist you have to bring down the to center of the armpit and hem and take the measure from one edge to another edge of the shirts just like the above picture.
5. Hip measurement
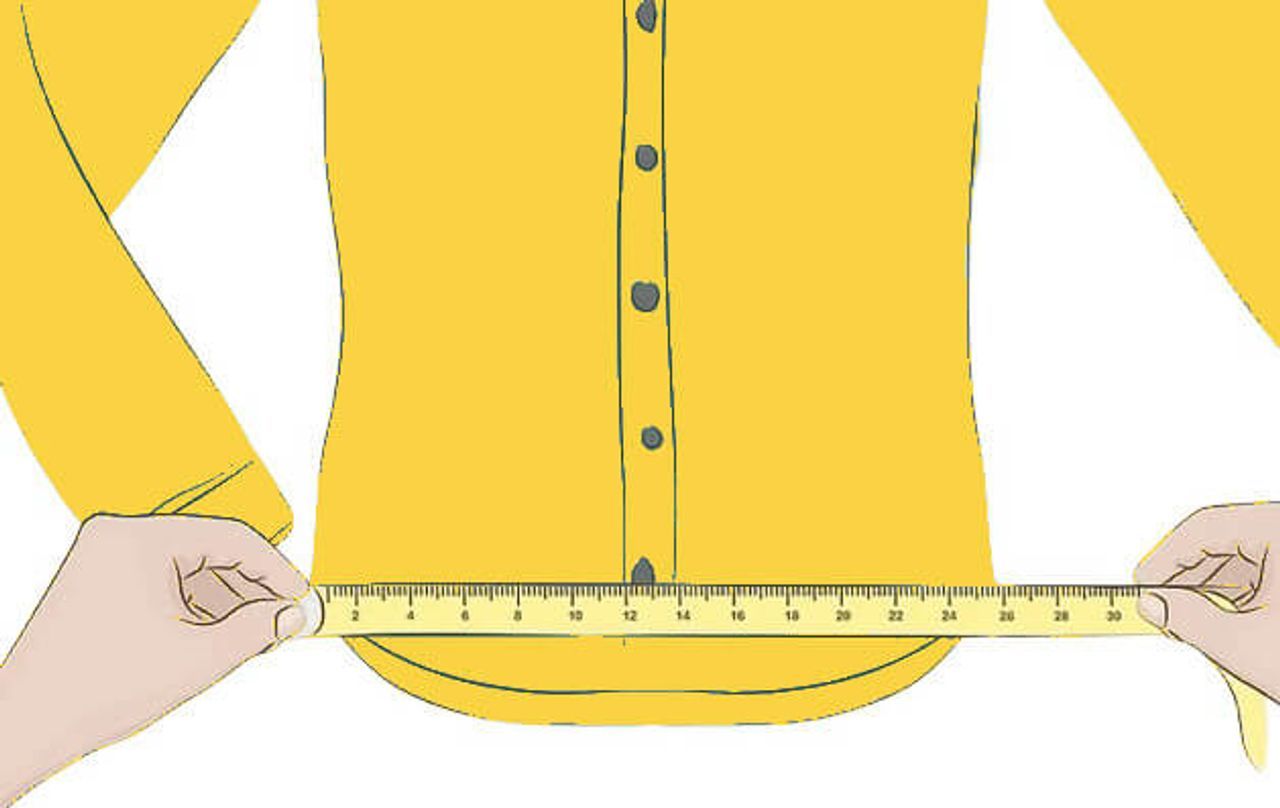
Fifth step is while measuring a shirt is to measure hip, for this you have to keep the measure tape at bottom left corner and take it to bottom right corner please note that you should not measure the curved area measure tape should be straight as shown on above illustration.
6. Shoulder measurement
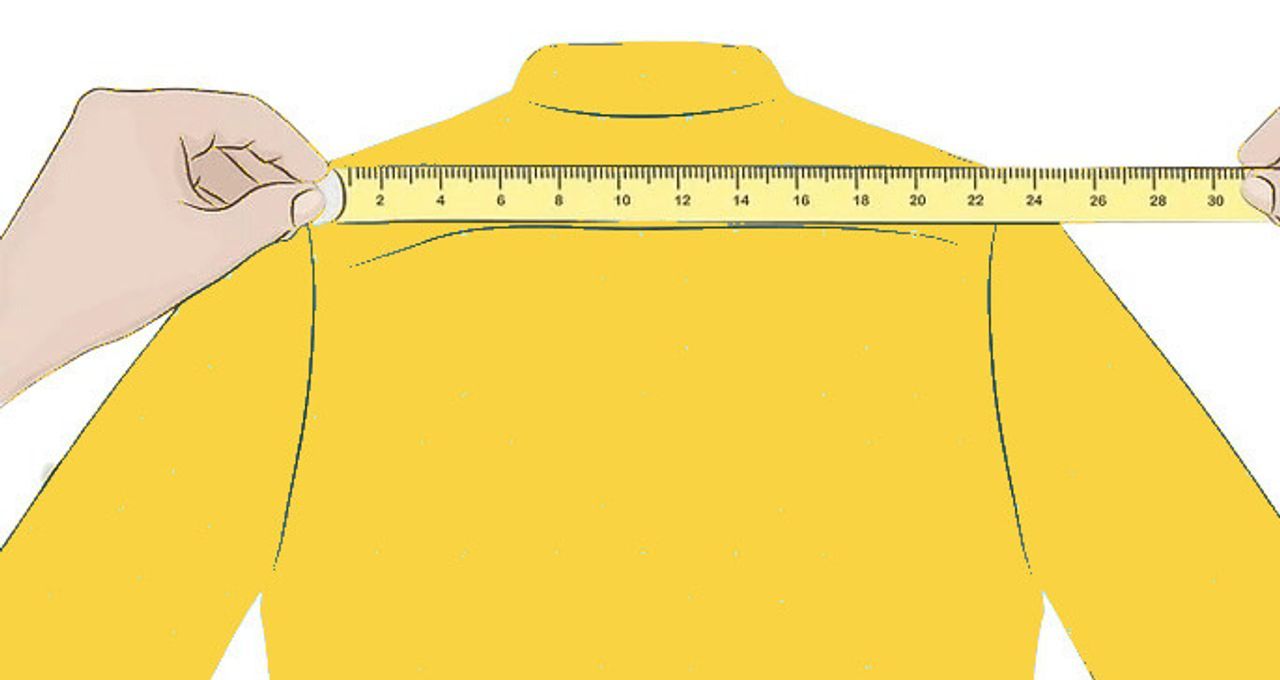
Sixth step is while measuring a shirt is to measure the shoulder, for this you have to keep the shirt front facing down and back facing you, keep the measure tape at the left side of the shirt where the sleeve is connected to the body of the shirt and take the tape to right side where the sleeve is connected to the body of the shirts and note down the measurement.
7. Sleeve measurement
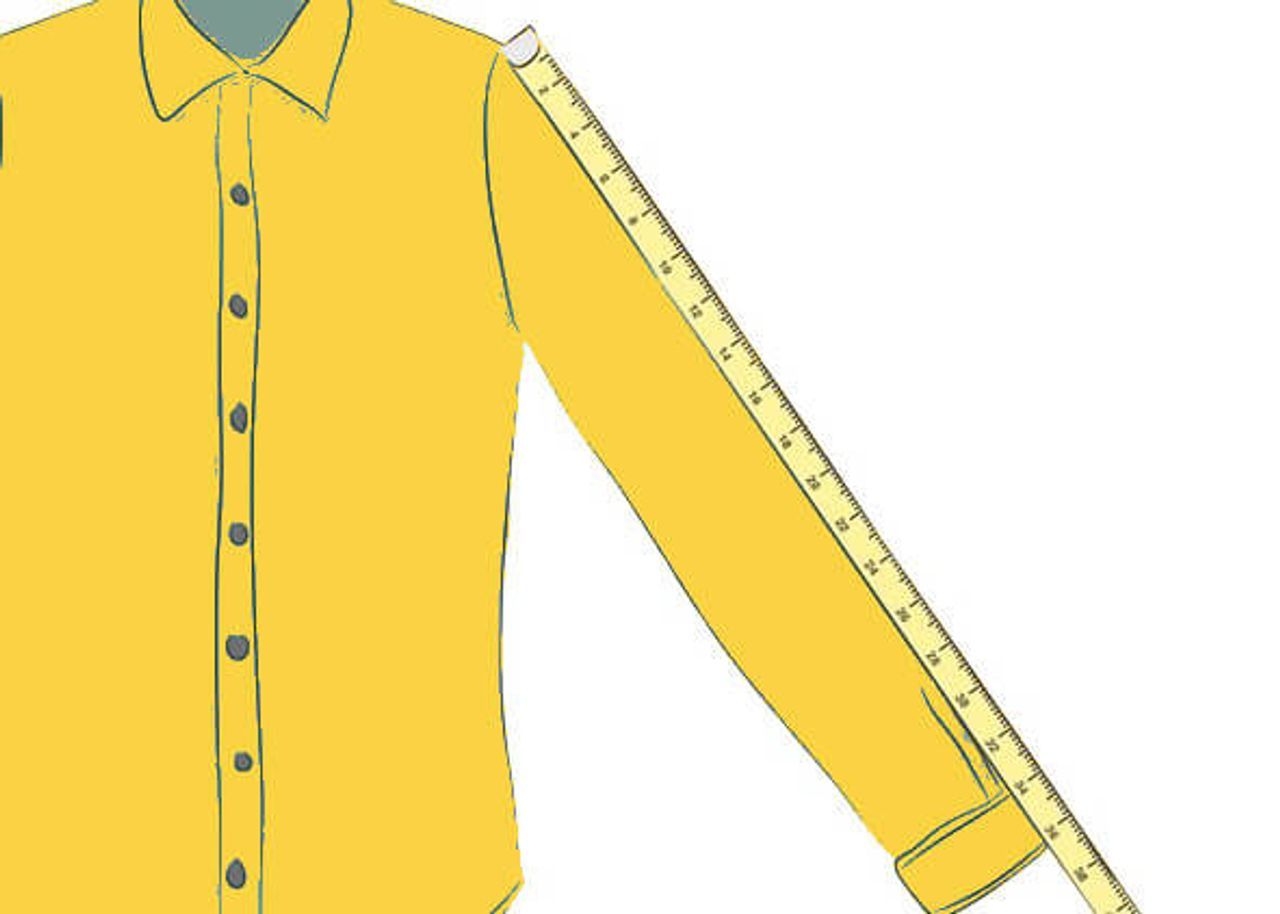
Seventh step is while measuring a shirt is to measure sleeves, for this you have to keep the measure tape at where the sleeve start and take it to down where the sleeves end and note down the measurement.
Sleeves start from where sleeves is connected to the shoulder of the shirt. To get the idea please see the above image.
8. Collar measurement
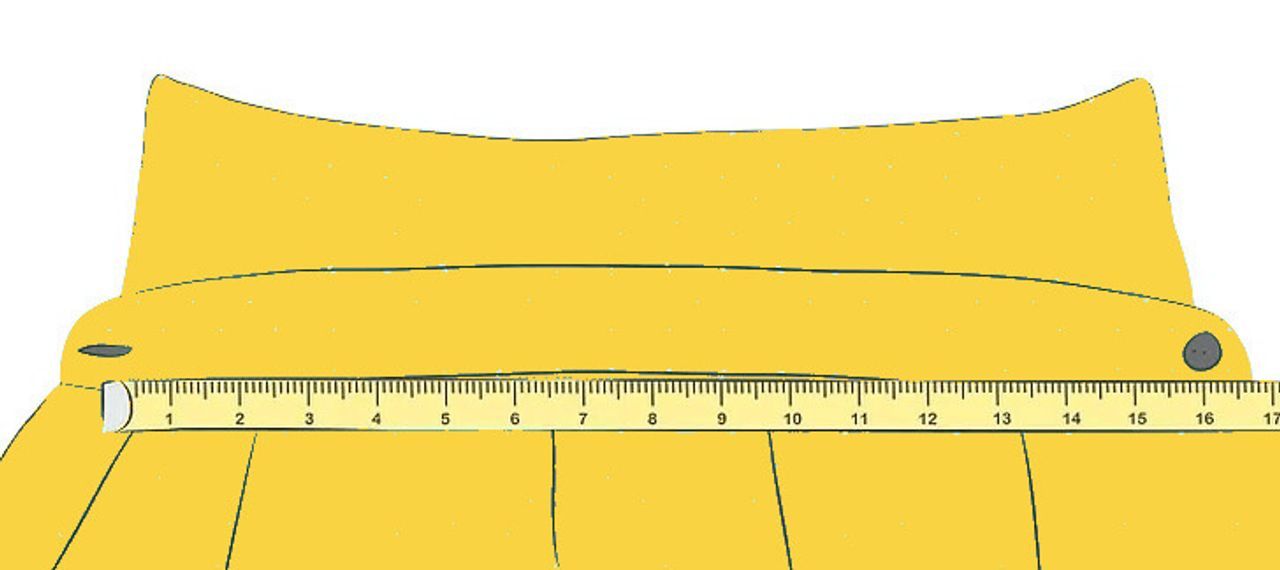
Eighth and final step while measuring a shirt the measurement of the collar for this unbutton the shirt and place the shirt in flat surface as shown in the above image after that place the measure tape at the buttonhole and take it to the button of the collar and note the measurement.
To get an idea you can see the above image the collar of the shirt in the above is 16.
Extra Measurement
Normally this extra measurement are kept by the experience of the tailor this is the reason I have kept this measurement in extra below is the 2 measurement which you can take
A. Cuff measurement for this you have to keep the cuff of the shirt at flat surface just like we kept the collar at the time of collar measurement after that you have to place the tape from one edge to another edge of the cuff and write down the measurement.
B. Pocket Measurement for pocket measurement you have to place the measure tape at on one edge to another edge of the pocket horizontally and similarly you have to measure vertically and note it down the measurement.
After all the measurement is done and you have written all the measurement in the piece of paper you should also write on it about the type of Placket, Hem, cuff type, collar type etc.
Conclusion
In this article we learned how to measure a shirt at the comfort of your home. As we draw this journey to a close, I hope you feel empowered and inspired to embrace the world of personalized fashion.
